

how to make a chanel handbag cake | Chanel birthday cake
$255.00
In stock
Chanel, the iconic brand synonymous with luxury, elegance, and timeless style, has captivated hearts for generations. From its signature tweed suits to its classic No. 5 perfume, Chanel embodies sophistication. What better way to celebrate a special occasion for a Chanel enthusiast than with a show-stopping Chanel handbag cake? This article will guide you through the process of creating your own stunning Chanel handbag cake, covering everything from the foundational cake to the intricate decorations that make it unmistakably Chanel. Whether you're aiming for a Chanel bag cake topper, drawing inspiration from Chanel cakes images, planning a Chanel birthday cake, or incorporating a Chanel No. 5 cake element, this comprehensive guide will equip you with the knowledge and techniques needed to create a masterpiece. We'll explore various handbag birthday cake ideas, bag cake decorating ideas, and even touch upon the use of a Chanel cake mold for achieving a perfectly shaped foundation.
I. Planning and Preparation: The Foundation of Success
Before diving into the baking and decorating process, careful planning and preparation are crucial. This stage will determine the overall success of your Chanel handbag cake.
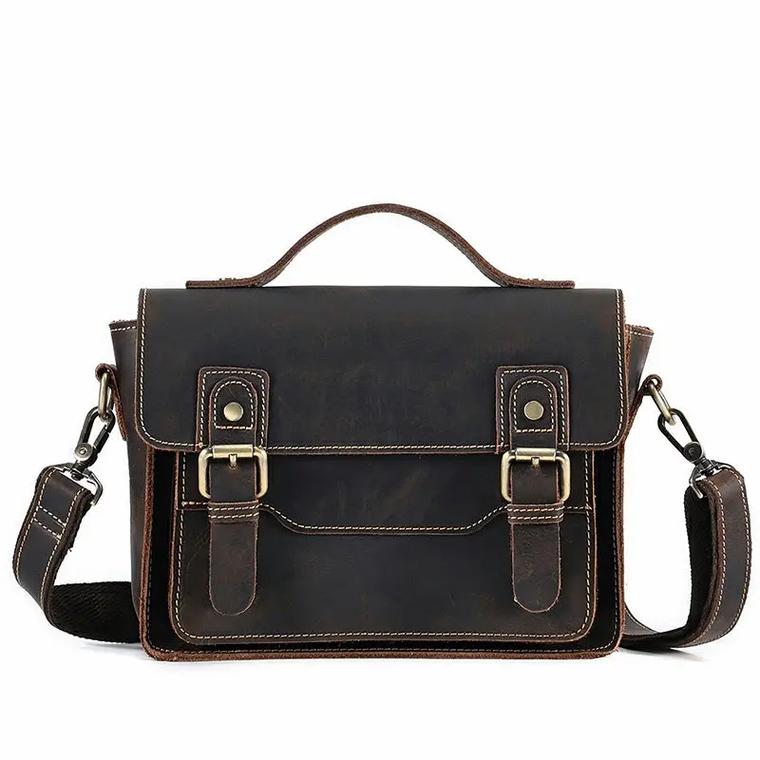
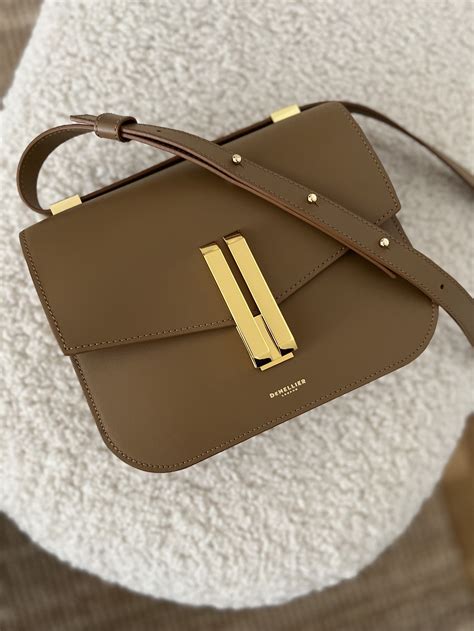
* Design Inspiration: Begin by browsing Chanel cakes images online. This will give you a wealth of inspiration regarding shape, color scheme, and decorative elements. Consider the recipient's favorite Chanel bag style, color, and embellishments. Are they drawn to the classic quilted leather, the more modern tweed, or perhaps a vibrant, limited-edition design?
* Cake Size and Shape: Determine the size and shape of your cake based on the number of servings you need. A rectangular cake is the most common choice for a handbag shape, but you could also opt for a square or slightly curved design. Consider the proportions carefully to ensure the cake resembles a realistic handbag.
* Flavor Profile: Select a cake flavor that complements your chosen decorations and the recipient's preferences. Classic choices include vanilla, chocolate, red velvet, and lemon. You can also incorporate fillings such as buttercream, ganache, fruit preserves, or pastry cream.
* Gathering Supplies: Compile a comprehensive list of all the ingredients and tools you'll need. This will save you time and prevent last-minute scrambling. Here's a detailed checklist:
* Cake Ingredients: Flour, sugar, eggs, butter (or oil), baking powder, baking soda, vanilla extract, milk (or buttermilk), and any flavorings specific to your chosen cake recipe.
* Filling Ingredients: Butter, powdered sugar, vanilla extract, milk (or cream), and any additional flavorings or ingredients for your desired filling (e.g., chocolate, fruit puree).
* Frosting Ingredients: Butter, powdered sugar, vanilla extract, milk (or cream), and any food coloring needed to achieve your desired shades.
* Fondant Ingredients: Fondant (pre-made or homemade), powdered sugar (for dusting), vegetable shortening (to prevent sticking), and gel food coloring for desired colors.
* Decorating Supplies:
* Rolling pin
* Fondant smoother
* Sharp knife or scalpel
* Ruler or measuring tape
* Small paintbrushes
* Edible glue or royal icing
* Piping bags and tips (various sizes)
* Quilting tool or impression mat
* Edible luster dust or shimmer
* Chanel logo stencil or cutter (optional)
* Edible pearls, sequins, or other embellishments
* Cake board or stand
* Turntable (optional)
* Serrated knife or cake leveler
* Offset spatula
* Cake dowels (for support, if needed)
* Chanel Cake Mold (Optional): If you plan to use a Chanel cake mold, ensure you have the correct size and shape for your desired design.
II. Baking and Preparing the Cake Base
1. Baking the Cake: Prepare your chosen cake recipe and bake it according to the instructions. If you're making a multi-layered cake, bake each layer separately to ensure even cooking. Allow the cakes to cool completely before handling.
2. Leveling the Cake: Use a serrated knife or cake leveler to trim the tops of the cakes, creating a flat and even surface. This will ensure a stable base for your handbag.
3. Filling the Cake: Prepare your chosen filling. Place one cake layer on a cake board or stand. Spread an even layer of filling over the cake, leaving a small border around the edge. Repeat with the remaining layers, stacking them on top of each other.how to make a chanel handbag cake
4. Crumb Coat: Apply a thin layer of frosting over the entire cake. This "crumb coat" will trap any loose crumbs and create a smooth surface for the final frosting layer. Refrigerate the cake for at least 30 minutes to allow the crumb coat to set.
III. Frosting and Fondant Application: Creating the Handbag Structure
1. Final Frosting Layer: Apply a thicker layer of frosting over the crumb-coated cake, smoothing it out as much as possible. Use an offset spatula or bench scraper to achieve a clean and professional finish.
2. Fondant Preparation: Knead the fondant until it is soft and pliable. Dust your work surface with powdered sugar to prevent sticking.
Additional information
| Dimensions | 9.9 × 1.4 × 2.7 in |
|---|
Related products
-
adidas ts 1 herren schuhe
$310.00 Select options This product has multiple variants. The options may be chosen on the product page -
adidas true street schuhe
$345.00 Select options This product has multiple variants. The options may be chosen on the product page -
adidas ts1 herren schuhe how to make a chanel handbag cake
$405.00 Select options This product has multiple variants. The options may be chosen on the product page